For ordinary smooth leather shoes, remove loose dirt, clean only as needed, let the surface dry, apply a small amount of suitable care product, and buff. Check the material and maker's instructions first. The routine for suede, patent leather, or a coated finish can be different, and a general-purpose tin of polish is not the answer to every shoe.
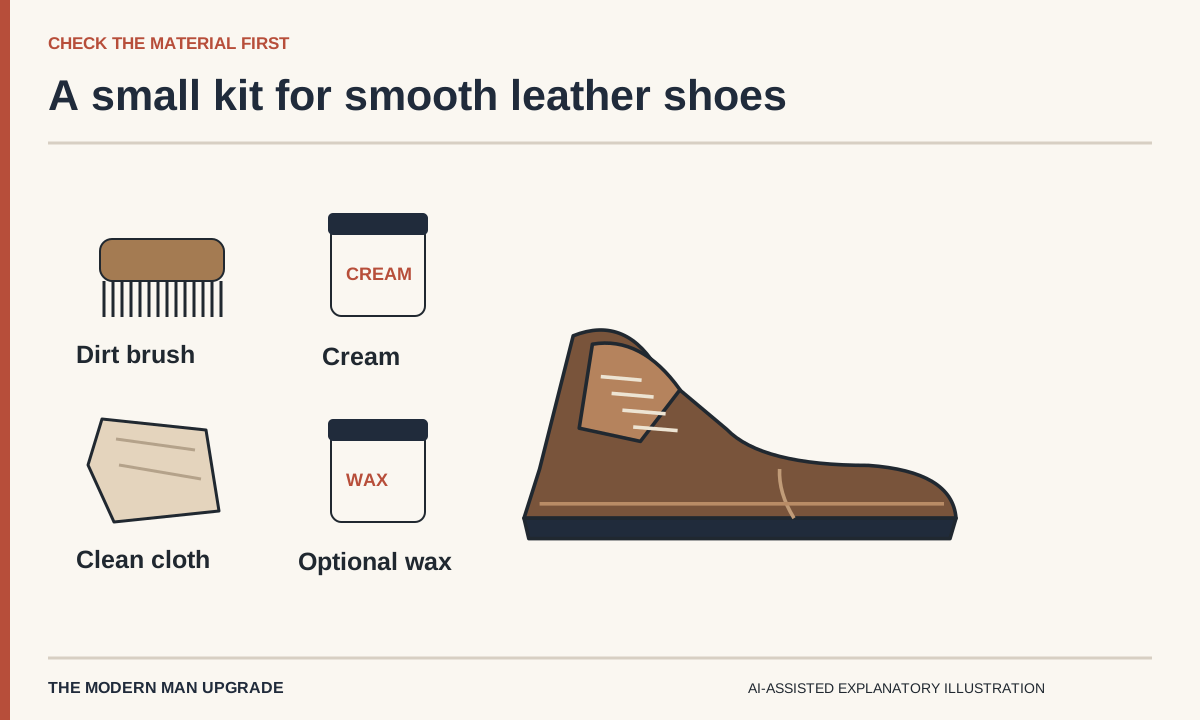
Start with a brush, clean cloths, and a cream polish suitable for the shoe. Add conditioner when the leather and instructions call for it, and wax only if you want extra shine. Use thin applications, let each product settle as directed, and stop when the shoe looks clean and even. A mirror finish is optional.
Make sure this method fits the leather
This guide covers conventional smooth leather uppers. Before starting, read the product listing, care leaflet, or manufacturer's care page. If you cannot identify the finish, ask the maker or a cobbler. An inconspicuous test is still useful even when the label says leather, because products can change color or sheen.
- Suede or nubuck: use their own brushing and treatment instructions, not ordinary cream or wax polish.
- Patent or heavily coated leather: follow the finish-specific guidance.
- Shell cordovan, oily leather, or specialty finishes: use the maker's dedicated routine.
- Peeling coating, deep cracks, loose soles, or damaged heels: assess repair first. Polish is not a structural repair.
Crockett & Jones maintains separate guides for different materials, including calf, suede, cordovan, and high-shine finishes. That is the useful principle to borrow: identify the material before selecting the treatment.
Choose tools by job rather than buying a large set
Keep a brush for removing dirt separate from the cleaner polishing brush. Use clean cloth sections for different products and colors. Protect the work surface, remove the laces, and support the shoe shape with suitable trees if you have them.
A cream polish is a useful starting point for refreshing the finish and color of compatible smooth leather. Wax is an optional finishing step for additional shine. Conditioner is a separate decision, based on the leather and instructions rather than a rule that every brush-up needs another coat. Crockett & Jones' calf-care routine recommends small applications and uses cream for regular care.
Choose the color carefully. A wrong dark pigment can change the appearance of a lighter shoe; neutral products are not guaranteed to leave every finish unchanged. Test first. For a first routine, use products approved for the material and follow their directions instead of improvising with household oils.
How to polish smooth leather shoes step by step
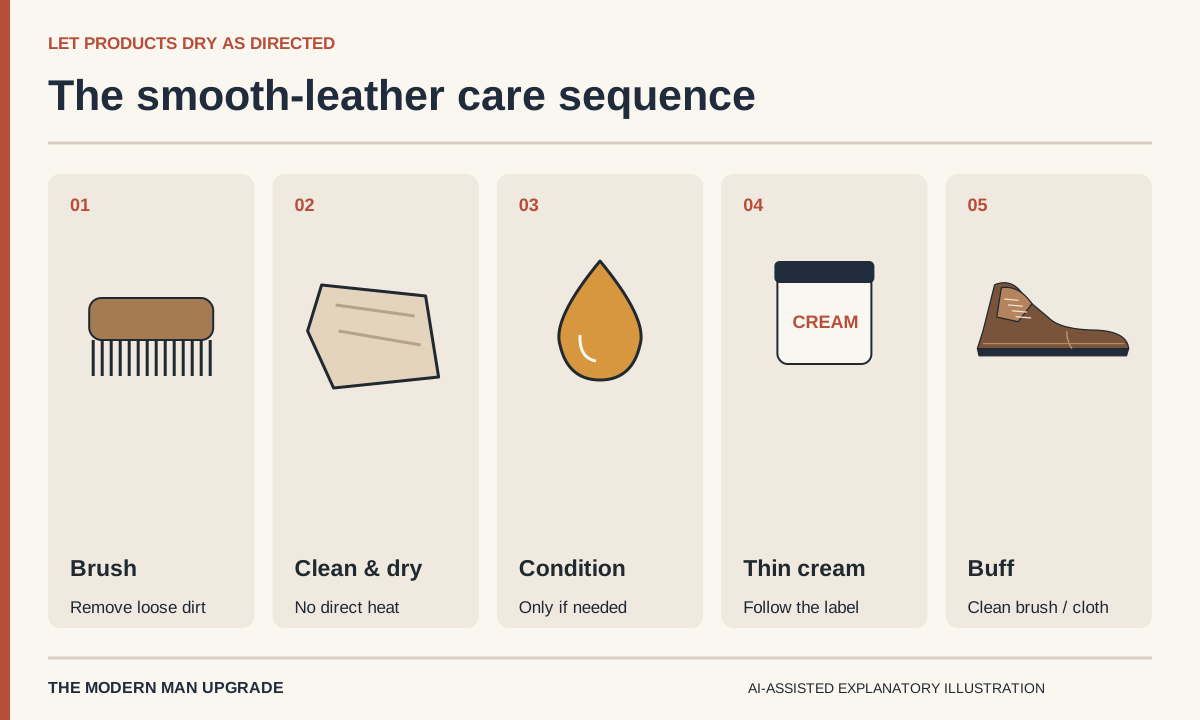
- Brush away loose dirt: work around the seams and welt with the dedicated cleaning brush. Do not rub grit into the surface.
- Clean only what remains: if allowed by the maker, use a lightly damp cloth. Avoid soaking the shoe. Let it dry naturally before applying care products.
- Condition if appropriate: apply a thin amount of compatible conditioner, following its instructions and drying time. Remove surplus as directed.
- Apply cream polish: spread a small amount evenly with a clean cloth or applicator. Start with one thin application rather than burying the leather under product.
- Let it settle, then brush: follow the polish label for timing. Use a clean polishing brush, then a soft cloth for an even finish.
- Add optional wax: use it sparingly if the finish and maker allow it. For extra toe shine, keep heavy buildup away from flexible creases.
Clarks' polishing guide also starts with preparation and cleaning before conditioning, polish, and buffing. Product instructions differ, so there is no single waiting time for every cream or wax. Use the directions for the products in your hands.
If the finish looks wrong, diagnose before adding more
Sticky or smeared surface: stop applying polish. You may have used too much or not allowed it to settle. Consult the product directions before attempting removal; a stronger cleaner can remove color as well as residue.
Uneven color: let the shoe settle, inspect in ordinary light, and check what was used. Some scuffs can be improved by compatible pigment, but deep scratches and removed coatings may need repair. Do not promise yourself that more layers will hide every mark.
White deposits or persistent staining: identify the cause and use material-specific advice. Salt marks, wax residue, and damage are not the same problem. If you are uncertain, a cobbler can assess the finish before you make it harder to restore.
Wet shoes: dry naturally, away from radiators and direct heat, as advised by Crockett & Jones. Do not rush a polish onto wet leather. Wait for the shoe to be ready rather than fitting every step into an arbitrary ten-minute timer.
Build the smallest care rhythm you will keep
After wearing, inspect the shoes and brush away surface dust. Let them rest and dry before wearing again when possible. Schedule a fuller routine when the condition needs it, not because a fixed monthly date proves the leather needs another product layer.
For example, a pair worn to one dry indoor event may need only a brush before its next outing. A daily pair exposed to wet streets needs more inspection and a drying plan. The clothes-care guide helps attach those checks to a weekly reset. Keep suede sneakers or canvas shoes on the appropriate cleaning routine.
Before replacing a scuffed pair, decide whether cleaning or repair will solve the problem. Use the wardrobe audit for that decision, or compare a cobbler visit with other upgrades in the Top 3 filter.
Leather shoe polishing questions
Can I use the same polish on brown and black shoes?
A colored polish is intended to affect color, so use the appropriate shade and avoid contaminated cloths or brushes. A neutral product still requires a compatibility test.
Do I need a mirror shine?
No. A clean, even finish is enough for many everyday outfits. Mirror polishing is a separate technique and is not necessary to maintain a presentable pair.
Can I use olive oil instead of shoe polish?
Use a compatible leather-care product rather than a kitchen substitute. Household oils can change the appearance unpredictably and do not replace material-specific care instructions.
Source and scope: Crockett & Jones and Clarks care pages were checked on September 30, 2026. This is a beginner routine for identified smooth leather, not a universal treatment or a product test. The shoe and tools in the images are illustrative.