Replace a flat shirt button by checking the fabric, matching the button and aligning it with the existing buttonhole before stitching. The repair is only useful if the closure still works afterwards. Start on an ordinary adult shirt with intact fabric; a torn placket or specialized fastening is a different job.
Take the shirt off, inspect the attachment point and choose a matching flat button. Mark its position using the buttonhole, anchor suitable thread, and stitch through the button holes and one placket only. Leave enough space for the buttonhole layer, secure the thread on the reverse and test fastening and movement. Practice on scrap fabric if the needle path is unfamiliar.
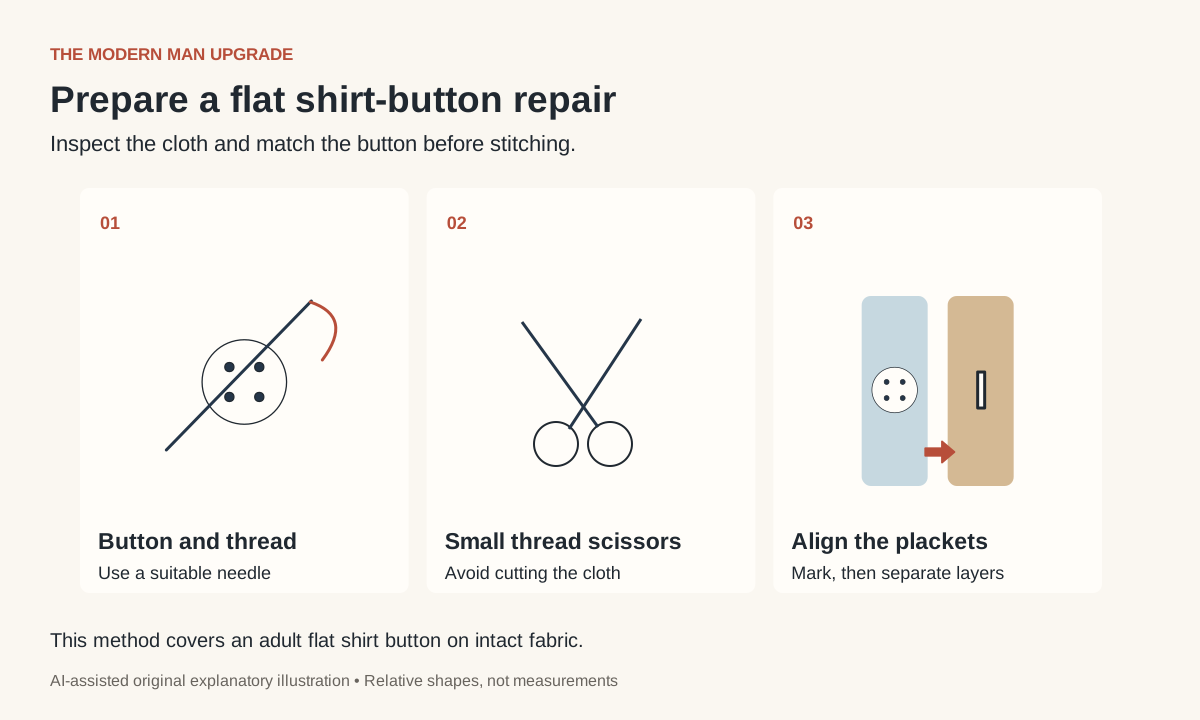
Check that a button replacement is the right repair
Look at the attachment point in good light. If the fabric is torn, thinning or frayed around a hole, sewing a button onto the same weak area may not solve the problem. A damaged placket can need reinforcement or professional repair before the button returns.
This method covers an ordinary flat shirt button with holes through its face. A coat button with a built-in shank, a backing button or unusual decorative fastening can need different handling. Do not use this guide as instructions for a child’s garment or a specialized protective garment.
The Patagonia and iFixit four-hole button tutorial provides an original illustrated reference. The diagrams on this page are separate explanatory drawings, and the routine below does not claim a personal durability test.
Gather a small practical kit
- A matching flat button, preferably the shirt’s spare.
- A hand-sewing needle and suitable thread.
- Small scissors for thread, used carefully around the garment.
- A removable marking method compatible with the fabric.
- A well-lit surface and scrap fabric if you need practice.
Compare the replacement with neighboring buttons and the buttonhole. A similar color is not enough if the new button is too large or thick to pass through comfortably. Check both face and edge. If no appropriate spare exists, obtain a suitable replacement before stitching.
Remove loose old thread without cutting the fabric. Keep the shirt off the body and identify the single layer you will sew through. A common preventable mistake is catching the opposite placket or another folded section beneath the work.
Mark the position with the shirt aligned
Lay the front naturally and line up the surrounding buttons and buttonholes. Use the empty buttonhole as a guide to mark where the replacement should sit on the underlying placket. Then separate the layers before sewing. Confirm that the spacing agrees with the rest of the row.
Check the original thread marks if visible, but do not assume a stretched or damaged mark is a reliable placement by itself. A removable test mark should not leave a permanent spot on the shirt. If uncertain, practice the marking method somewhere hidden or use a suitable alternative.
Do not move the button merely to disguise a shirt that is too tight. A shifted closure can create a crooked front and move pressure elsewhere. Use the fit guide to assess that separate problem.
Anchor, stitch the holes and secure the end
- Thread the needle with a manageable length and secure the end using a suitable small knot.
- Work from the reverse and anchor the thread at the marked point with small stitches.
- Place the button, then bring the needle up through the fabric and one hole.
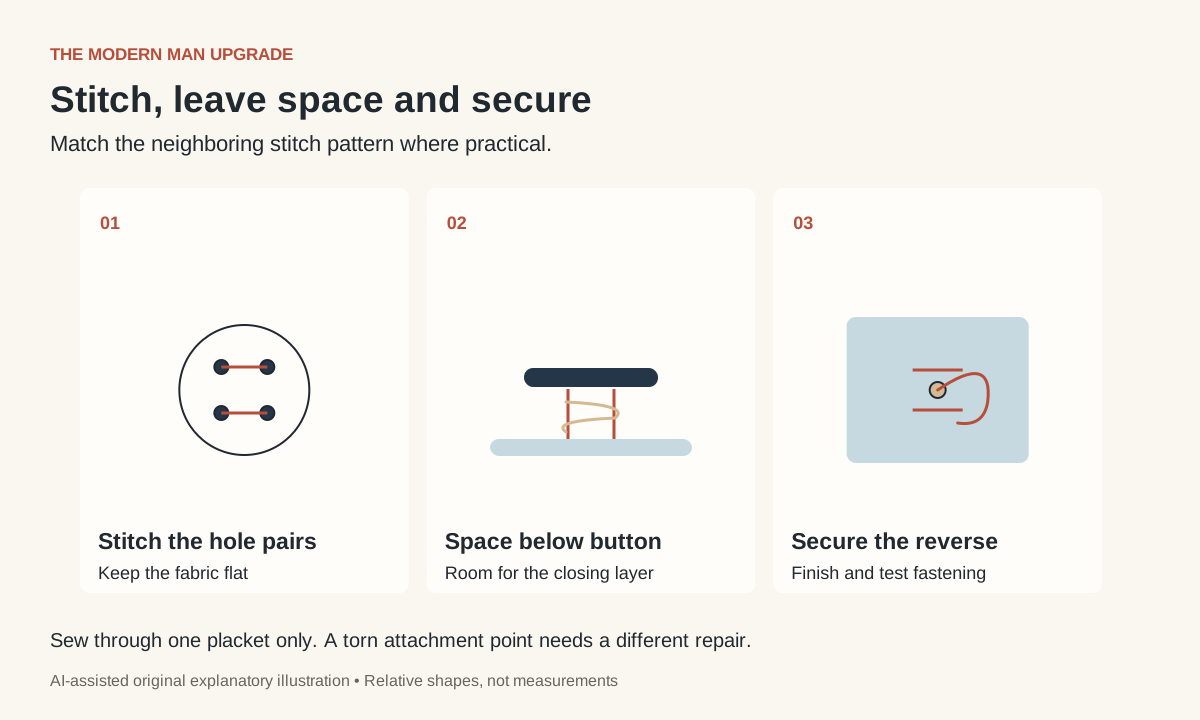
- Return through its paired hole and the same placket, avoiding the other side of the shirt.
- Repeat the route several times, then secure the remaining pair of holes to match the neighboring stitch pattern.
- Leave a small working space below the button rather than pulling it hard against the cloth.
- Bring the needle beneath the button, wrap the supporting threads to form a small thread shank where needed, then finish securely on the reverse.
One way to secure the reverse is to catch a small stitch, pass the needle through its loop and draw it snug, repeating before trimming the remaining thread. Do not cut the garment or the new supporting stitches. Keep the fabric flat rather than gathering it into a tight puckered spot.
Heather Handmade’s original method explains why space below the button lets the buttonhole layer sit underneath it. Its particular thread arrangement and pass count belong to that demonstration; thread strength and the garment still affect your repair.
Test the closure before wearing
Look at both sides. The button should be attached securely without gathering the surrounding cloth. Fasten it through the intended buttonhole, undo it, then fasten it again. Check that the front lies in line with the neighboring closures.
Put the shirt on only after the needle and loose tools are set aside safely. Sit and move normally. If the front pulls, determine whether the button is misplaced, the thread gap is too small or the shirt itself does not fit comfortably. More thread tension is not the answer to every problem.
Diagnose an imperfect first attempt
The button will not pass through: check size, thickness and thread clearance. Do not stretch the buttonhole aggressively to compensate for the wrong replacement.
The cloth puckers: reassess tension and anchoring. If removing stitches, work carefully and distinguish the repair thread from the woven fabric.
The front looks crooked: recheck alignment with the shirt closed. A good attachment in the wrong location still needs correction.
The same button keeps failing: inspect the underlying fabric and shirt fit. A tailor can assess reinforcement or a larger fit issue. The wardrobe audit helps decide whether this is a small maintenance task or part of a bigger repair decision.
Button repair questions
Do I need a sewing machine?
No. A suitable needle, thread and flat button are enough for this hand repair. Practice the route on scrap material if needed.
Must a four-hole button use crossed stitches?
No. Paired or crossed layouts can be used. Match the surrounding pattern where practical and secure all the intended holes.
Can I wash the shirt immediately afterwards?
Check the repair and closure first, then follow the garment’s label. See the dress-shirt washing guide for preparation.
The free Top 3 filter can put one completed clothing repair into a manageable set of next actions.